Register today!


")
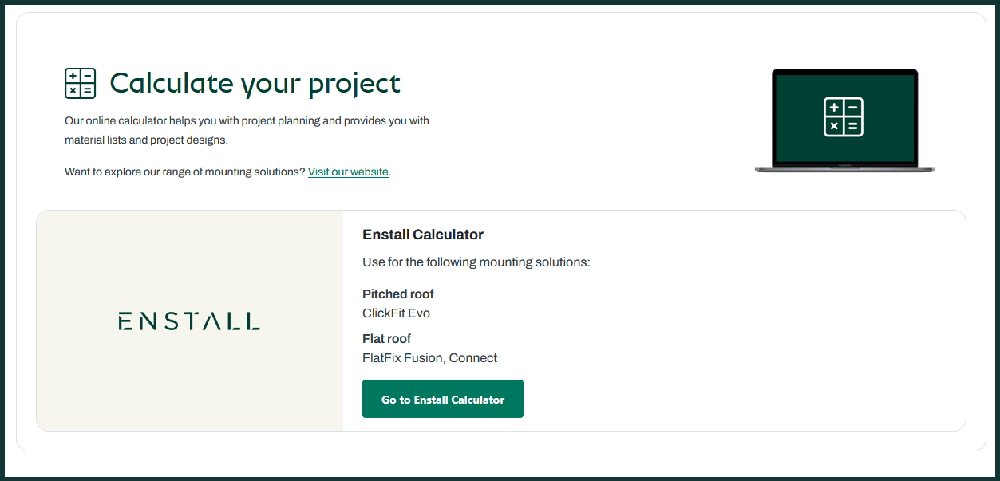
Plan your solar installation, view estimated costs, and generate a complete Bill of Materials (B.O.M) including Esdec mounting solutions.
✅ Step 1 – Open the Enstall Website
✅ Step 2 – Sign Up or Log In
Create an Enstall account and verify your email. This allows you to save projects and access them later.
🧮 Step 3 – Navigate to the Calculator
Once logged in, scroll down to the “Calculate your project” section.
Click the green “Go to Enstall Calculator” button to begin.
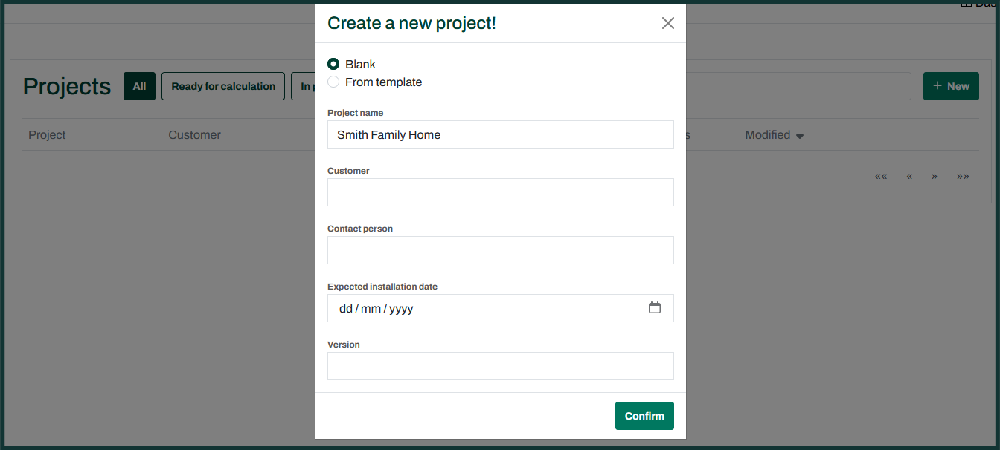
🆕 Step 4 – Create a New Project
On the next screen, click the “Create Project” button.
Give your project a name (e.g. “Smith Family Home”) and enter any project notes if you wish.
Click Save to move on.
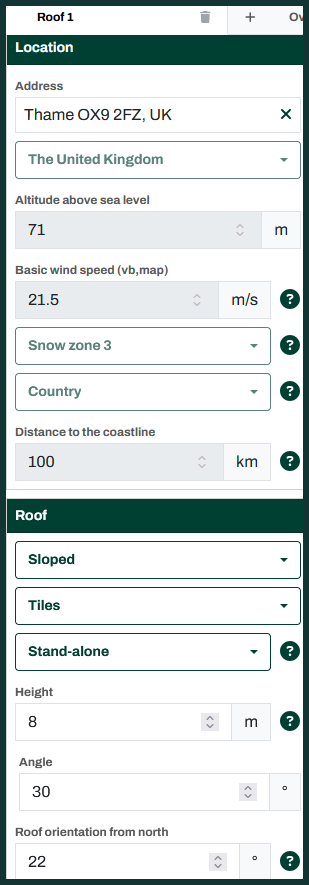
🏡 Step 5 – Enter Project & Site Details
On the left-hand side, you’ll now see the Esdec calculator panel. Start by filling in:
📍 Project Address – This helps auto-fill local factors like coastal distance, wind speed, and altitude.
🏠 Roof Type – Is the roof flat or sloped?
🧱 Roof Material – What’s it made of? (e.g. tiles, metal, etc.)
🏘️ Building Type – Is it terraced, semi-detached, detached, or other?
📏 Maximum Roof Height – Measured from ground to ridge.
📐 Roof Angle – In degrees.
🧭 Orientation – Which direction does the roof face (from North)?
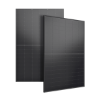
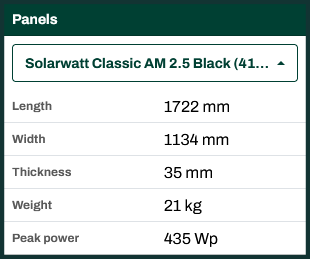
☀️ Step 6 – Select Solar Panels
Next, select a solar panel for the system. We strongly recommend choosing one we currently stock to ensure accuracy and availability.
Browse our range here:
🔗 View Solar Panels
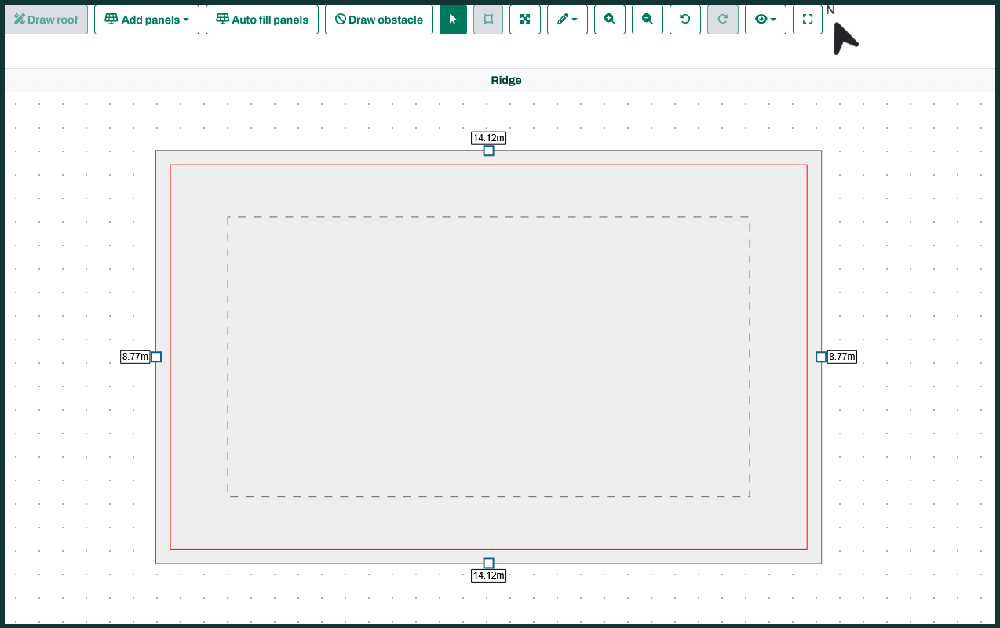
🧱 Step 7 – Draw Your Roof
Use the canvas in the middle of the screen to draw the shape of your roof.
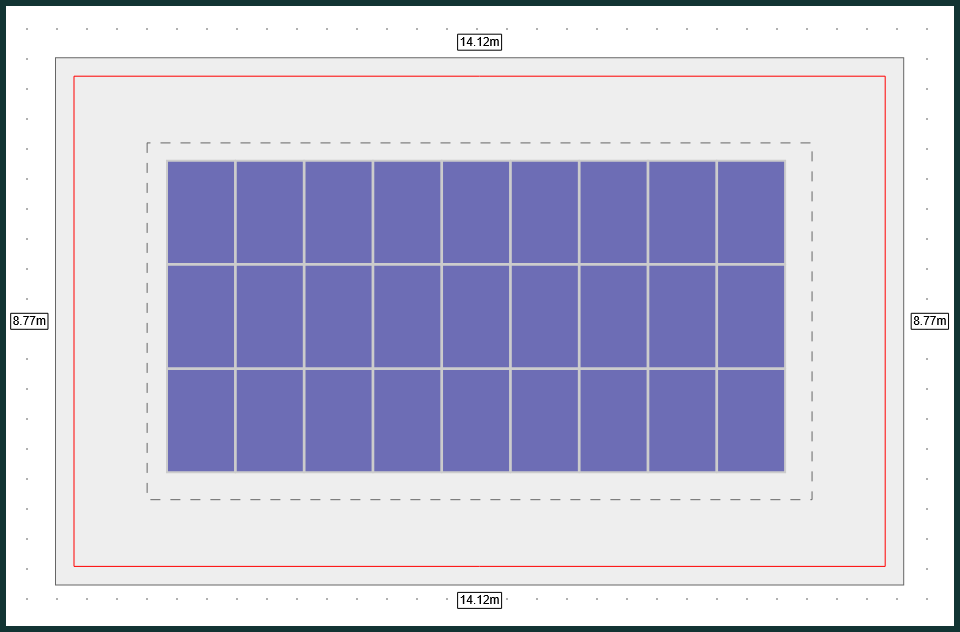
🧩 Step 8 – Add Panels
Once the roof is drawn, use the toolbar at the top to start adding solar panels.
🔴 Red panels indicate unsuitable placement.
💡 Use the “Auto Fill Panels” tool to get the most efficient layout quickly.
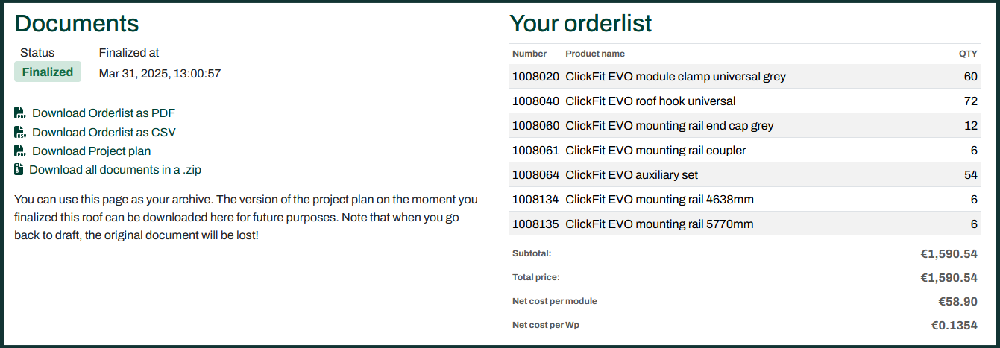
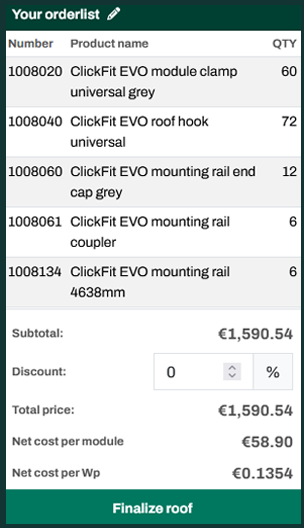
📦 Step 9 – View Your Materials List
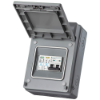
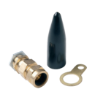
On the left-hand side, under “Your orderlist”, you’ll now see all the components needed to complete the installation.
These include Esdec mounting systems and accessories.
💬 Don’t worry about the prices shown — these are generic trade values.
✅ Final Step – Finalise & Share Your Project
Click “Finalise Roof” when you're happy with your design.
You’ll then be able to:
📄 Download your orderlist
📧 Send it to the Evergy team so we can build an accurate quote for you.